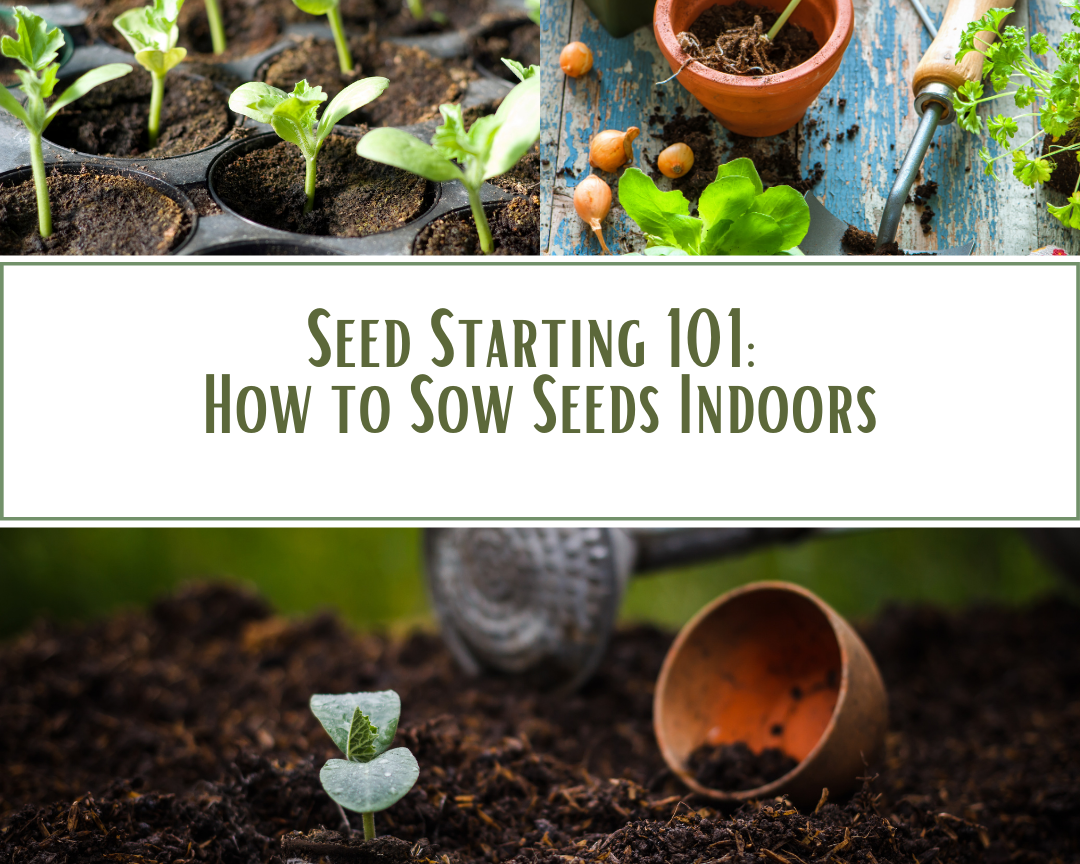

Seed Starting 101: How to Sow Seeds Indoors
A complete guide to indoor seed starting. We will help you increase your seed germination rate and give you all the knowledge needed to get your plants off to the right start.
Benefits of Indoor Seed Starting
First things first. Why would you even want to bother with starting seeds indoors? Well, here are a few of the benefits....
Early Harvest -You have control of when you start your seeds and knowing the right time to bring them outside. You can give them a head start, making them stronger and more successful plants.
Stronger plants -Seedlings are such delicate little things! You have to protect them, nurture them, feed them.. when they are closer to you, inside the house, this is much easier to do.
Greater variety - When shopping at the local garden center in the early spring, you'll notice maybe two or three varieties of tomatoes and mostly one variety of everything else. But there are SO many other interesting varieties to choose from. When you start you own seeds you can choose from a greater selection and you are in complete control of what soil it's grown in, non GMO, organic, etc.
Cost saving - A seedling from the local garden store will cost approximately the same as a pack of 50 or more seeds. Of course, you should calculate in the other materials you need but in the end you still save money.
Fun - Plain and simple, starting seed indoors is just fun! It's a great activity to do with the kids as well.
When to sow seeds
Starting Seeds Indoors
1. Seeds
2. Seedling containers/pots, trays, eggshells, etc.
3. Seedling starting soil
4. Labels (trust me, you'll want to keep track.)
5. Light source
6. Watering
7. Heat
1) Seeds
2) Seedling Starting Containers

There are many different containers you can start seeds in. Some are more eco-friendly than others - from plastic trays to eggshells and many more options in between. No matter the chosen container type, it is best if they sit inside some sort of tray that can catch any excess water runoff. Trays should be kept covered with dome lids after the seeds are planted, before sprouting. Why are lids important? The lids help keep in moisture and warmth, assisting in germination. Most people start their seeds in a smaller container and as seedlings grow, transferring them to a larger pot. This is perfectly fine but you can also start your seeds in mini-pots right away.
Benefits of starting seeds in a slightly larger container:
- Larger containers mean more root space. Things like tomatoes get large fast, with the potential to get root-bound sooner.
- More soil space means more moisture retention. This helps to reduce frequency you'll need to water and prevents the seedlings from accidentally drying out.
- Starting seeds in bigger containers reduces the need and urgency to pot up seedlings as soon. This equals less hassle. If you intend to plant out seedlings fairly small and soon after sprouting, they may not need to be potted up at all.
What about biodegradable seedling cups?
How many seeds per container?
Never only one, and usually no more than 4-5. We have found that 3 per container is the perfect amount. By planting only one seed, you're putting all your eggs in one basket. If it doesn't sprout, it's disappointing and you've wasted time and space. If you overdo it, you're kind of wasting seed. Because they will be overcrowded and "fighting" for space and nutrients. You will end up having to pick only the strongest of them and tossing the others.

How many seedlings (plants) should I start?
3) Seed Starting Soil
This is the most important part of the process! Selecting the right soil. It is very important to start seeds in fresh, bagged seedling starting mix. You do not want use straight "potting soil" or other bagged mixes. They're often times too heavy and dense for good germination. You will also want to avoid using old soil from your garden. It may have diseases or pests and may not have the proper nutrients that your seedlings need. The ideal seedling mix should be nice and fluffy, light, without chunks or woody pieces, and no fertilizer added. My favorite organic seed starter mix is Purple Cow Organics seed starter mix.
4) Labels

Now that you have your containers, soil and ready to put those seeds in you will want to make sure you have something to keep track of which seeds are which and where. You can also transfer those labels into the garden along with the plants when you transplant them later on. (this part is optional and a personal preference, you should have a sketch of your garden and that will tell you what plants are where) For labels, there are tons of options out there, from using plastic forks to painting on rocks. We found that using inexpensive plastic tags works best. When using sharpie on them, the writing doesn't wash away when you water your garden or fade from the sun. Tip: Once you've used them twice (written on both sides) you can remove the sharpie with rubbing alcohol and cotton swap to keep on re-using them for years to come! The popsicle stick, rocks and wooden pieces are cute so we've tried them before, but found the writing faded quickly. Here are the ones I use and like: Labels
5) A Light Source
Unfortunately, most times, natural sunlight through even your sunniest window isn't enough to keep seedlings happy. This is particularly true when you are starting seeds indoors during those short-day winter months. In that case, you're definitely going to want to provide artificial light. Without it, your seedlings will get "leggy". This is when they stretch out super tall and thin in search for more light. You want your seedlings to be shorter and stockier. Grow light options: The two most common types of grow lights used for starting seeds indoors are either LED or T5 fluorescent lights. Unlike fluorescents, which should be positioned roughly 1”-2" above the tops of growing seedlings, because of their greater efficiency and higher photosynthetic active radiation (PAR) some LEDs can be held at higher distance from plant tops. If your seedling leaves look bleached, move the light back and if the seedlings are stretching or leggy bring it closer till you find the sweet spot. Lights should be left on at minimum 14 to 16 hours each day for best growth during the seedling stage. You will want to hang your light in a manner that can be easily adjusted, raising them as the seedlings grow.
I you are only starting a few indoors, I love this standing set up for that purpose: Standing Light Source
For a more advanced set up, here what I use: Light Sources
6) Watering

Avoid using a watering can, as the strong stream of water can disturb the soil, seeds or seedlings. It is also easier to accidently over-water using a watering can. The best method is to mist with a spray bottle. You can find it here: Spray Bottle.And whatever you do, DO NOT let your soil dry out.
7) Heat
If your house is cool in the winter (less than 70 degrees Fahrenheit) or if you are using an outdoor greenhouse, you might want to consider getting a heating mat. Optimum germination temperature is when the soil is 70-80 degrees Fahrenheit, for most things. Now, we have never used a heating mat and have had a 95% germination success rate. So, if you can't invest in one or want to see how it goes without one, that is 100% fine too. Side note: if you have fluorescent lights, they give off a little heat too. LEDS, much less.
Yay! We covered the important parts of seed starting and we hope these tips and tricks help you to have a successful garden!
Happy Gardening!
PIN HERE


Leave a comment (all fields required)