
If you're looking for an easy fall craft to make with kids, you've come to the right place!
Today, the amazing crafty homeschooling mama Nicole, of Frontierdreams, is here to show you how to preserve leaves with beeswax.
Beeswax leaves look fantastic as a hanging, mobile, garland or displayed on your nature table.

If you would like to join in the fun and preserve your own leaves - it's really quite fun and easy to do. Your home will smell heavenly for weeks to come from the beeswax and the beeswax will preserve the leaves' colors for weeks or maybe even months! You will quickly become addicted and before you know it, you'll be looking forward to this family tradition every autumn, too. I would recommend this activity for ages three and above, of course with direct adult supervision. A couple of my children started as young as two but they had been watching us do it for so long that they had the hang of it already. That said, my current two year old is a bit too energetic for working with hot beeswax so he will be waiting at least another year or two before he joins in. You know your child best. It is really up to your discretion.
What you will need:
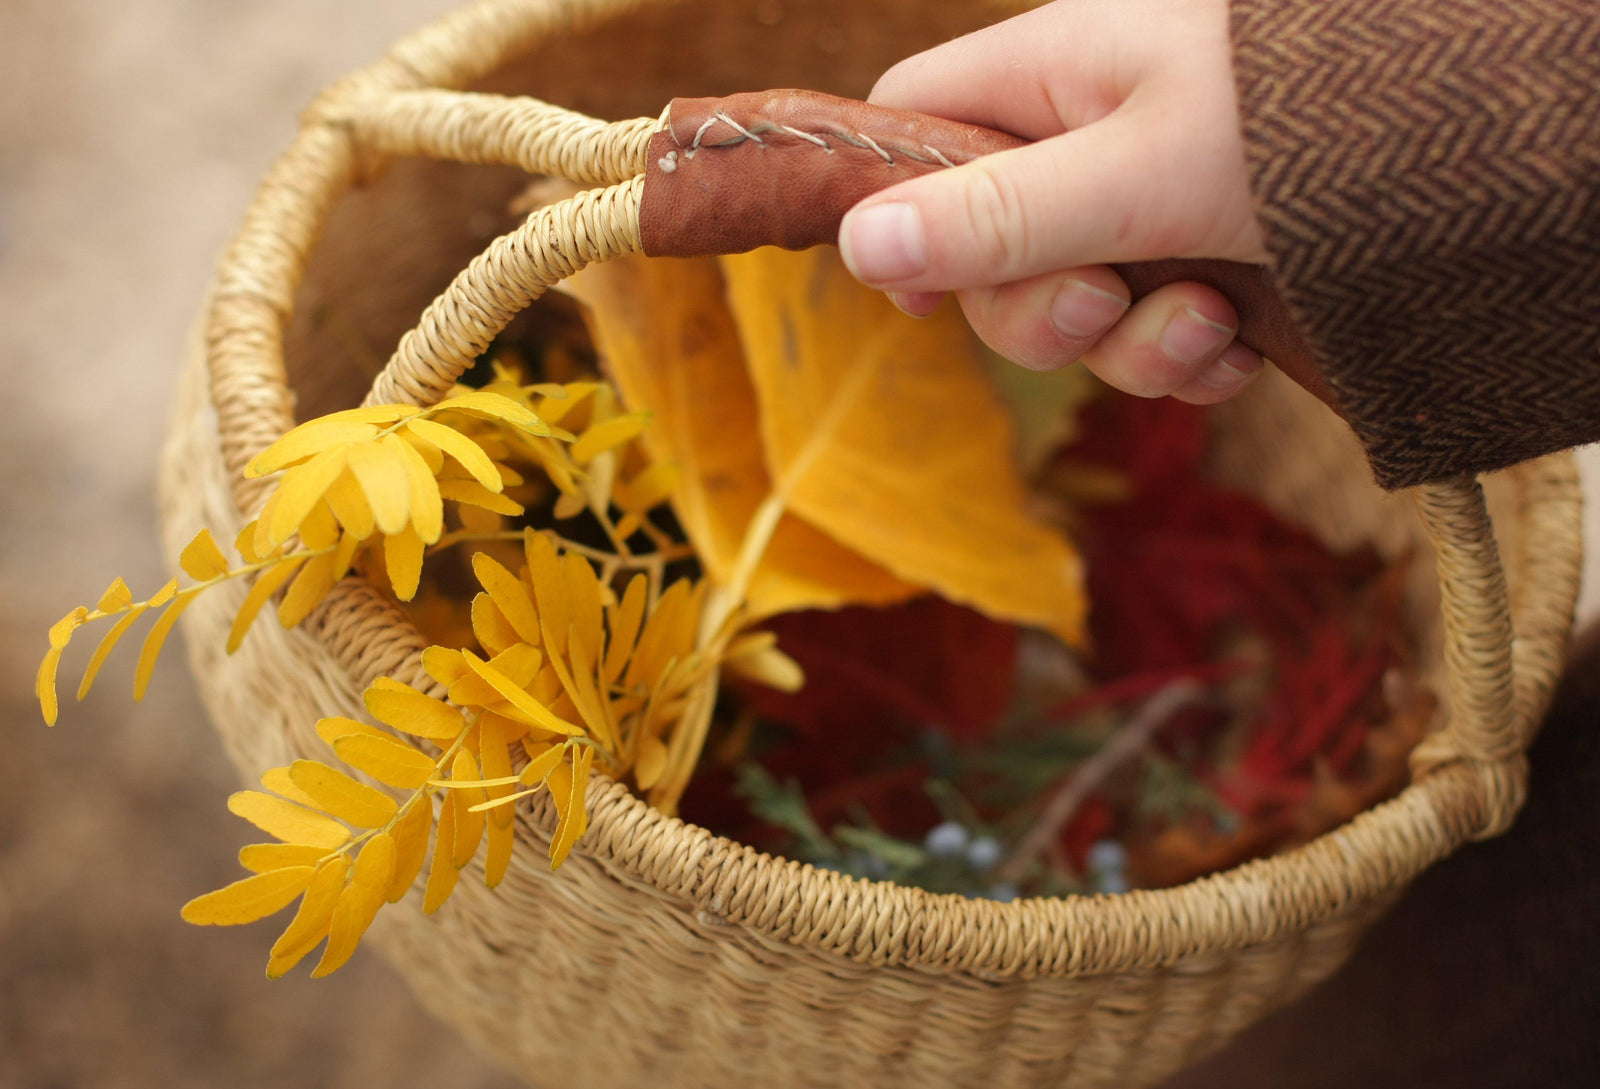
Leaves - the softer the better, if they are crunchy they won't last as long. If the leaves are fresh off the tree or damp from the ground, stick them in a book for a few hours to dry out and then dip them. If they have too much moisture they will bubble and splatter a bit in the beeswax. Look for ones with long stems if you can, especially if young children will be dipping. This helps prevent fingers from getting burned.

Beeswax - we buy it in one pound bricks locally and melt it down as is. If need be, we will cut it up before melting it (for example, if the wax is too big for the pot). I have found beeswax pellets on Amazon as well that melt much faster so I would recommend those over the bricks if you can get them.
An old pot or crock pot you can devote full-time to beeswax - You'll never be able to get the beeswax out of it so it will become your permanent beeswax pot. You will store your beeswax in it when not is use, too. The mini crock pot is the perfect size as you won't need to purchase as much beeswax to fill it. We found our mini crock pot at a thrift store for a couple of bucks.

Make sure your beeswax is nice and hot, you shouldn't see any cloudy looking beeswax around the edges of your pot. If it is not hot enough the beeswax will create a thick layer on your leaves, not allowing the autumn colors to show through. No worries if this happens, just heat the beeswax up longer and then you can re-dip the leaf to melt the excess beeswax off.
Once your wax is melted, start dipping your leaves. You only need to dip them once, (too many layers and they become heavy and cloudy looking) then let them drip over the pot for a moment before placing them onto your wax paper to dry. Make sure to get the whole leaf so it will be fully preserved. I highly recommend also dipping the tip of the leaf stem after the leaf has cooled down, it really helps the leaves retain their color longer.
 Now that you have your beeswax dipped leaves, check out these fun ideas of what to do with all of those autumn beauties!
A bowl of ice water - I like to keep this on the side of the crock pot just in case any burns occur.
Wax paper - we have used aluminum foil as well but the wax paper works best.
An oilcloth tablecloth, newspaper or anything else that will protect the surface you are working on - beeswax is a pain to scrape off your surfaces, and this will be a messy project. Trust me!
To begin, you'll warm your beeswax in your pot or crock pot. The crock pot takes a couple of hours to melt the wax but you can walk away from it which is nice. The pot placed on your stove top over med-low heat will melt the wax faster but you have to stay right there with it to make sure it doesn't splatter or burn. If you do happen to burn it, burnt beeswax can be saved by straining it through cheesecloth to get all the burnt pieces out of your wax. I have also heard you can microwave beeswax. I don't actually have a microwave myself so I can't attest to this though.

Make sure your beeswax is nice and hot, you shouldn't see any cloudy looking beeswax around the edges of your pot. If it is not hot enough the beeswax will create a thick layer on your leaves, not allowing the autumn colors to show through. No worries if this happens, just heat the beeswax up longer and then you can re-dip the leaf to melt the excess beeswax off.
Once your wax is melted, start dipping your leaves. You only need to dip them once, (too many layers and they become heavy and cloudy looking) then let them drip over the pot for a moment before placing them onto your wax paper to dry. Make sure to get the whole leaf so it will be fully preserved. I highly recommend also dipping the tip of the leaf stem after the leaf has cooled down, it really helps the leaves retain their color longer.
When you are finished, just unplug the crock pot full of wax (or set aside your pot), let it cool and harden in the pot, and put it away until next time. My children gather so many leaves each day that I just leave our beeswax designated crockpot on all day for them to wander in at will and dip their leaves. We amass quite a collection this way.

A leaf hanging or mobile:

What you will need:
- a somewhat straight stick sturdy enough to hold the weight of the beeswaxed leaves
- a collection of beeswaxed leaves
- string, thread, hemp cord or soft jute cord (we had the soft jute cord on hand and used that.)
Step one: Tie one end of a single piece of jute cord (at a length of your preference) to one end of the stick with a square knot. Take the other end of the cord and tie it to the other end of the stick in the same manner.
Step two: Lay out your leaves underneath the stick. Move them around until you find a pattern that is pleasing. I tried to make mine hang as if they were falling from the trees above.
Step three: Cut a piece of jute cord for each leaf at the length that you have them placed plus 1 - 2" for your square knots. Tie you leaf onto one end of the cord and then tie the other end of the cord onto the stick in the place you reserved for it. Repeat until you have all of your leaves tied on. Trim any lose ends and hang it up. If you hang it on your wall away from indirect sunlight it may very well last all of autumn and then some.
A garland:

There are many ways to do this. You can use a needle, and thread some sewing thread through the leaves themselves, you could (again) use sewing thread and using a sharp needle pierce through the petiole (end of the stem) to string them upside down, or you could even hang them on twine with mini clothespins.
A fairy mobile:

This is something I made many years ago (and I apologize for the bright yellow wall in the background of our then fixer upper). I found a tiny willow wreath at my local craft store and hung a fairy on a swing from it and then added hanging leaves as well so it was if she was swinging in the falling leaves of autumn.
Displayed on your nature table:

We have at least one nature table in our home all year long. This shows the changes of the seasons for my children. We usually have some wooden figures and wool felted things we created mixed in with the nature finds.
How you do preserve the autumn season? We'd love to know! Head on over to our Instagram to comment on this post!


Leave a comment (all fields required)