Easter is here! It is a time of renewal and gathering of family and celebration! We are sharing this safe and natural way to dye your easter eggs because it is simply our favorite and has such unique results every year! Revel in the new life that surrounds us this Spring with this fun DIY for your family!
Step One : Gather pressed flowers and leaves.
About 2-4 days in advance gather your family and head outside for a nature hike! We like to gather dainty-sized blooms and leaves you will later use for dying your eggs. The timing of this is pretty important, if you do it too soon (less than 24 hours) you will have a difficult time placing your florals on your eggs, if your wait too long (over a week depending the humidity where you live) your pressed florals may become too brittle and dry to work with. We usually aim for 2-3 days beforehand. Help your littles place their treasures between parchment paper or paper towels in between the pages of a heavy book. Place a second book on top and let gravity do the rest!

Step Two : Boil your eggs.
We gathered farm fresh eggs and brought them to a boil with 2 inches of water over the top. Once they reach a rolling boil, cover with a lid and turn the heat off. Do not remove pot from stove. Set your kitchen timer for 18 minutes and then rinse immediately in cold water when the time is up. If you are located at a high altitude your egg cooking time will need to be increased. My family prefers our eggs with a sunny yellow center. Insider tip, if you are uncertain of your altitude/cooking time, take an egg out at 17 minutes (do not cool off other eggs), rinse and crack to check the center. If it is glossy your eggs need 1-2 more minutes, runny, 2-4 more minutes and if it is starting to turn a pale yellow or greenish tint in the yolk rinse those babies, they're done!

Step Three : Prepare your eggs.
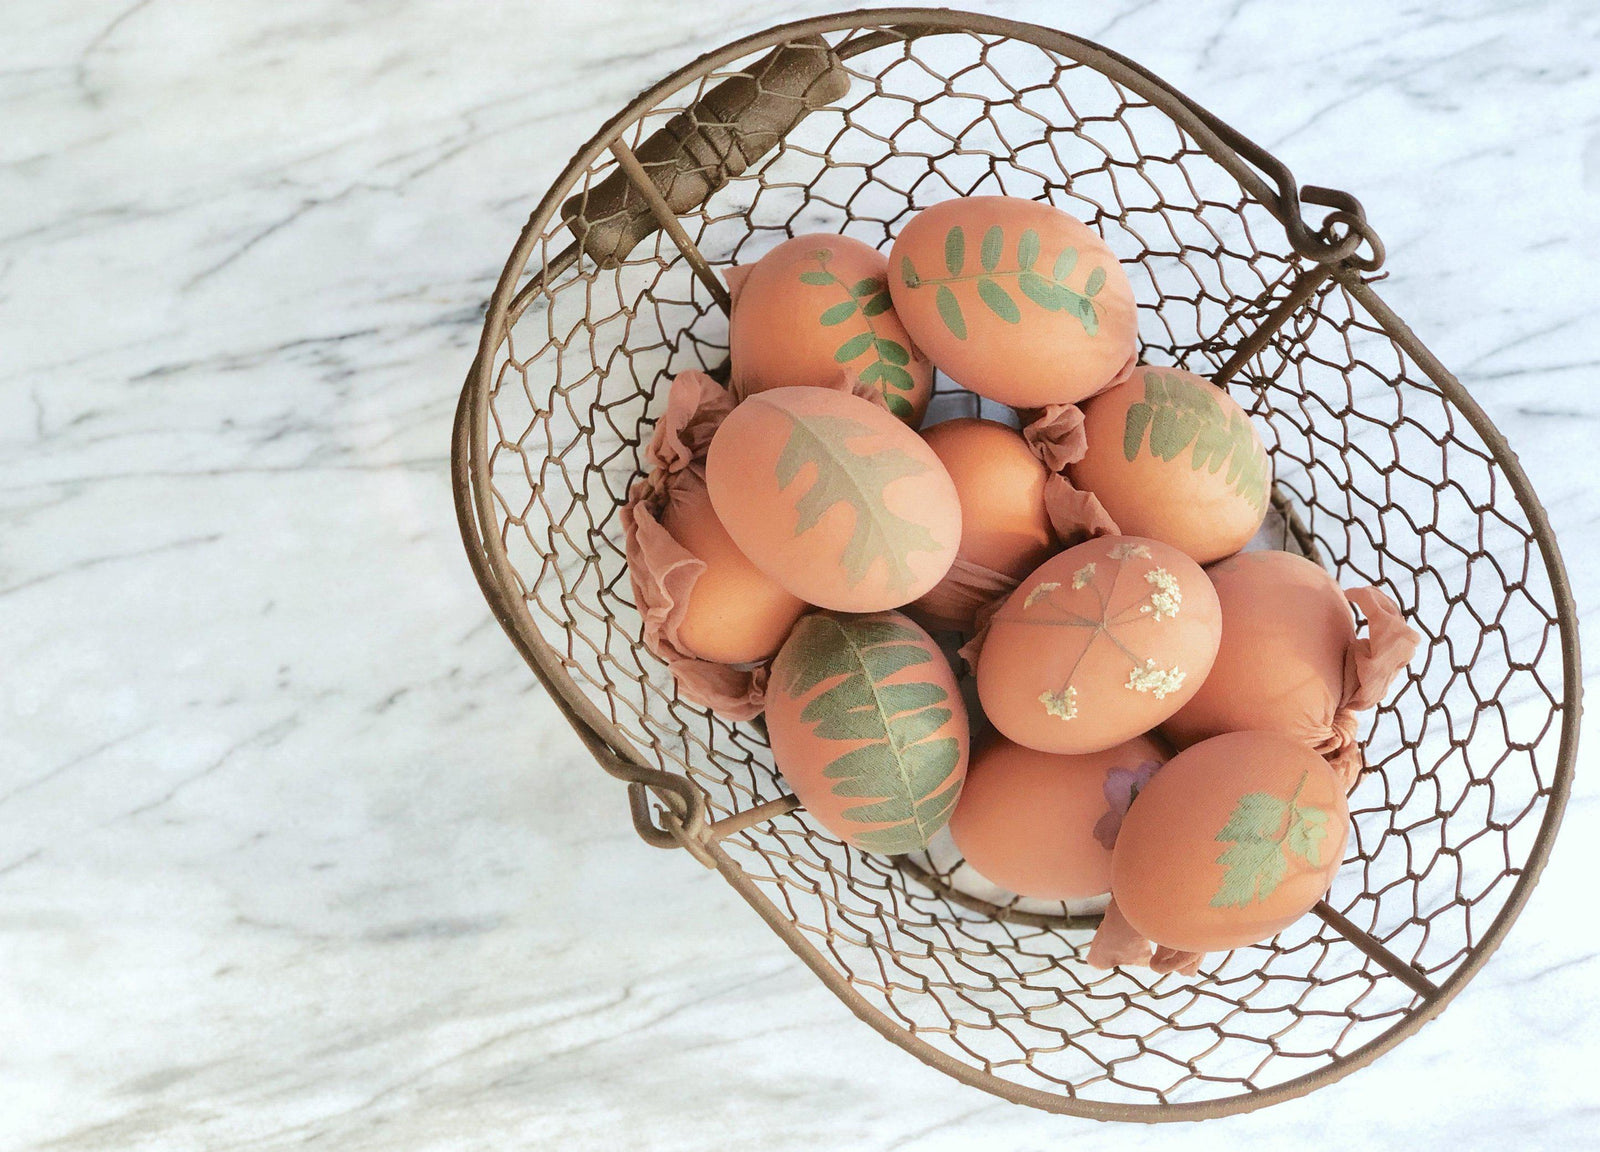
Cut lengths of old pantyhose in about 3-4 inch lengths (depending on the size of your eggs). Arrange your pressed flowers and leaves on your eggs and slip a segment of pantyhose over the entire egg. Take the two open ends of the panty hose and pull to the back of the egg, tying in a knot as pictured. Set egg gently aside. Do this to all your eggs until you run out of florals or eggs! Place eggs in fridge.


Step Four : Make your dyes and dye your eggs!
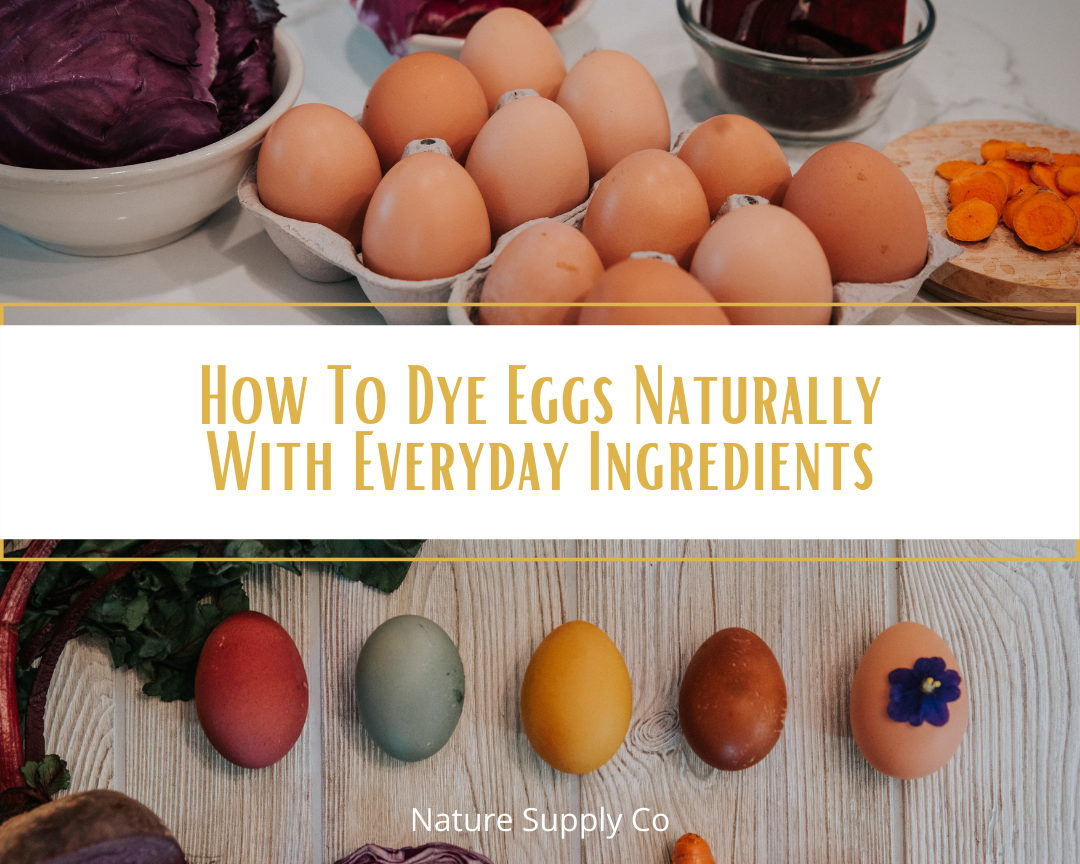
There are so many options for natural dye out there! This year we used 1/2 a red cabbage, 2 tsp turmeric, and a medium sized beet (plus a teaspoon of white vinegar). To make the dyes add 2 cups of just cooled boiling water over the top of each ingredient in a mason jar. Allow to sit for 20 min to 1 hour. To create the teal color you see here we dipped our eggs in the red cabbage dye (blue) for about 5 minutes followed by the turmeric dye for 1-2 minutes. For each color be prepared to allow your egg to sit for at least 5 minutes, the darker the original color of the egg, the deeper the hue you will achieve in the end, for example a white egg in the beet dye would result in a pink hue, whereas a brown or blue egg in the beet dye would result in a red or purple hue. While they may be natural, the dyes are for the most part permanent! Make sure to wear old clothing and gloves if you do not what your hands to be dyed as well!

Step Five : Reveal your floral "negatives" and enjoy your creation!
Set your dyed eggs aside to dry, 5 minutes or so, and then gently cut and remove panty hose. The pressed flowers and leaves should gently come off with the hose, if not use the sharp tip of scissors or a knife to slide under the flower and peel away. Enjoy your beautiful eggs and know they are safe to snack on later in the day! (We like to put ours back in an egg carton into the fridge and save them for pretty snacks, eggs will last boiled for 3 days in the fridge.)

What traditions and crafts does your family do to celebrate Easter and Spring time? Would you like to know more about natural dyes and how to use them? Tell us in our post on instagram and be entered for a chance to win our weekly shop credit! Wishing you and yours a lovely Easter!


Leave a comment (all fields required)